1.windows下安装 elasticsearch (简称:ES)
2.安装ES
- jdk安装跳过
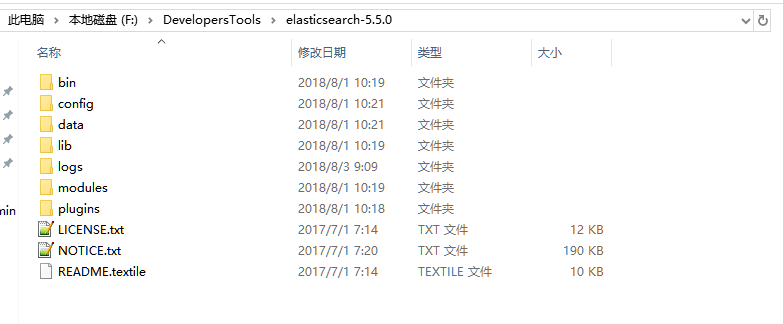
- 解压elasticsearch到某个目录,例如F:\DevelopersTools\elasticsearch-5.5.0
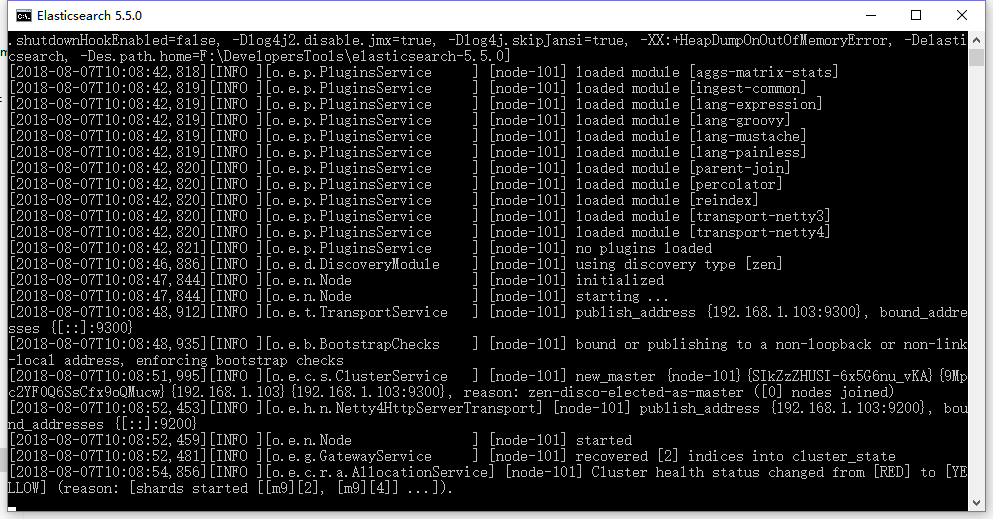
- 进入bin 目录,双击执行 elasticsearch.bat 如下图
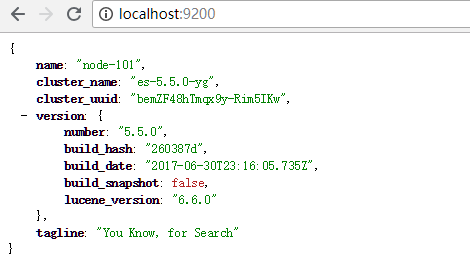
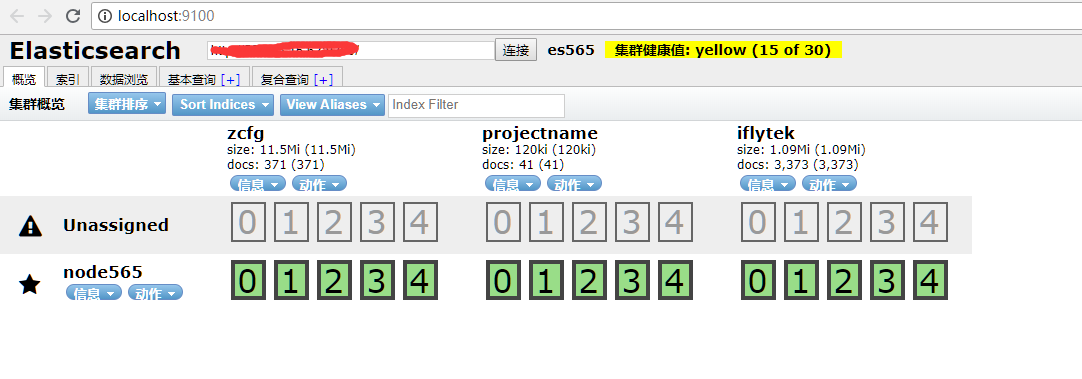
- 检查是否安装成功
- 访问: http://localhost:9200 会返回一串json信息
3.安装head插件
- node.js
安装node.js
安装node到D盘。如D:\nodejs。
把NODE_HOME设置到环境变量里(安装包也可以自动加入PATH环境变量)。测试一下node是否生效
node -v
安装grunt
- grunt是一个很方便的构建工具,可以进行打包压缩、测试、执行等等的工作,5.0里的head插件就是通过grunt启动的。因此需要安装grunt:
pm install -g grunt-cli- 执行
grunt -version检查grunt 是否安装成功
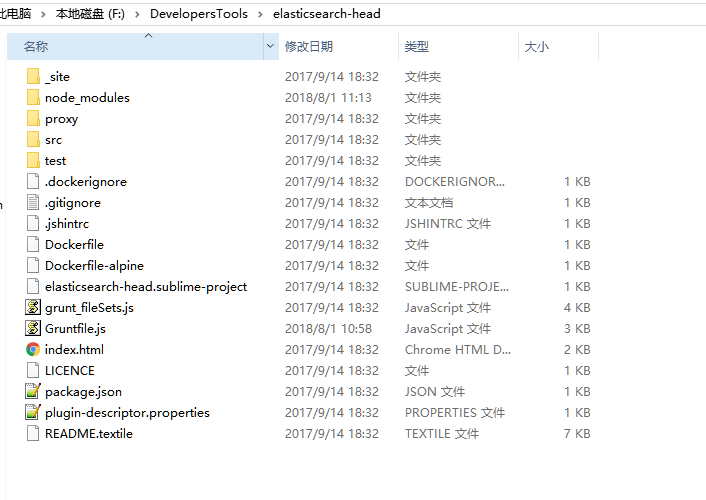
解压 elastcsearch-head 比如 F:\DevelopersTools\elasticsearch-head 如下图
4.修改head源码
由于head的代码还是2.6版本的,直接执行有很多限制,比如无法跨机器访问。因此需要用户修改两个地方:
目录:elasticsearch-head/Gruntfile.js:
connect: {
    server: {
        options: {
            port: 9100,
            hostname: '*',
            base: '.',
            keepalive: true
        }
    }
}
增加hostname属性,设置为*
修改连接地址:
目录:elasticsearch-head/_site/app.js
修改head的连接地址:
this.base_uri = this.config.base_uri || this.prefs.get("app-base_uri") || "http://localhost:9200";
把localhost修改成你es的服务器地址,如:
this.base_uri = this.config.base_uri || this.prefs.get("app-base_uri") || "http://10.10.10.10:9200";
运行head
修改elasticsearch的参数
修改一下es使用的参数。编辑F:/DevelopersTools/elasticsearch-5.5.0/config/elasticsearch.yml:
# ======================== Elasticsearch Configuration =========================
#
# NOTE: Elasticsearch comes with reasonable defaults for most settings.
#       Before you set out to tweak and tune the configuration, make sure you
#       understand what are you trying to accomplish and the consequences.
#
# The primary way of configuring a node is via this file. This template lists
# the most important settings you may want to configure for a production cluster.
#
# Please consult the documentation for further information on configuration options:
# https://www.elastic.co/guide/en/elasticsearch/reference/index.html
#
# ---------------------------------- Cluster -----------------------------------
#
# Use a descriptive name for your cluster:
# 换个集群的名字,免得跟别人的集群混在一起
cluster.name: es-5.5.0-yg
#
# ------------------------------------ Node ------------------------------------
#
# Use a descriptive name for the node:
# 换个节点名字
node.name: node-101
#
# Add custom attributes to the node:
#
#node.attr.rack: r1
#
# ----------------------------------- Paths ------------------------------------
#
# Path to directory where to store the data (separate multiple locations by comma):
#
#path.data: /path/to/data
#
# Path to log files:
#
#path.logs: /path/to/logs
#
# ----------------------------------- Memory -----------------------------------
#
# Lock the memory on startup:
#
#bootstrap.memory_lock: true
#
# Make sure that the heap size is set to about half the memory available
# on the system and that the owner of the process is allowed to use this
# limit.
#
# Elasticsearch performs poorly when the system is swapping the memory.
#
# ---------------------------------- Network -----------------------------------
#
# Set the bind address to a specific IP (IPv4 or IPv6):
# 修改一下ES的监听地址,这样别的机器也可以访问
network.host: 0.0.0.0
#
# Set a custom port for HTTP:
# 默认的就好
#http.port: 9200
#
# For more information, consult the network module documentation.
#
# --------------------------------- Discovery ----------------------------------
#
# Pass an initial list of hosts to perform discovery when new node is started:
# The default list of hosts is ["127.0.0.1", "[::1]"]
#
#discovery.zen.ping.unicast.hosts: ["host1", "host2"]
#
# Prevent the "split brain" by configuring the majority of nodes (total number of master-eligible nodes / 2 + 1):
#
#discovery.zen.minimum_master_nodes: 3
#
# For more information, consult the zen discovery module documentation.
#
# ---------------------------------- Gateway -----------------------------------
#
# Block initial recovery after a full cluster restart until N nodes are started:
#
#gateway.recover_after_nodes: 3
#
# For more information, consult the gateway module documentation.
#
# ---------------------------------- Various -----------------------------------
#
# Require explicit names when deleting indices:
#
#action.destructive_requires_name: true

# 增加新的参数,这样head插件可以访问es
http.cors.enabled: true
http.cors.allow-origin: "*"
注意,设置参数的时候:后面要有空格!
5.重启elasticsearch-5.5.0
F:\DevelopersTools\elasticsearch-5.5.0\bin\elasticsearch.bat
6.编译elasticsearch-head
进入 F:\DevelopersTools\elasticsearch-head 目录执行:
npm install
安装过程中会出现一个错误 如图: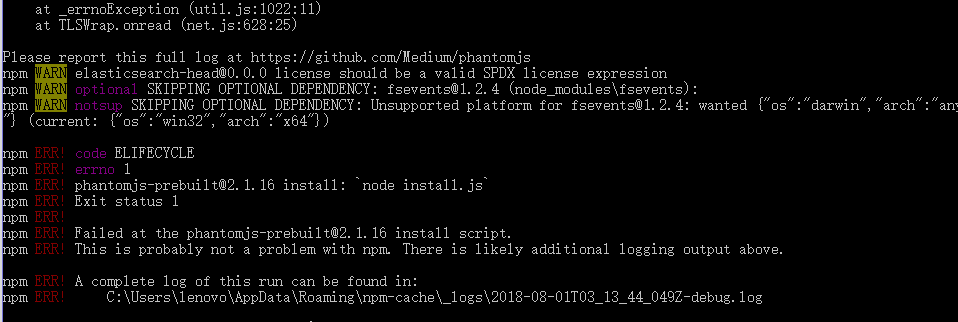
于是搜了一下问题
大致意思是这是系统环境问题因为我装的是windows如果装载OS上就不会报错了可以忽略
7.启动head插件
cmd 进入 F:\DevelopersTools\elasticsearch-head 执行:
grunt server
也可以 新建一个 es-head.bat 批处理文件 双击运行就可以了
F:
cd F:\DevelopersTools\elasticsearch-head\
grunt server
启动后如图: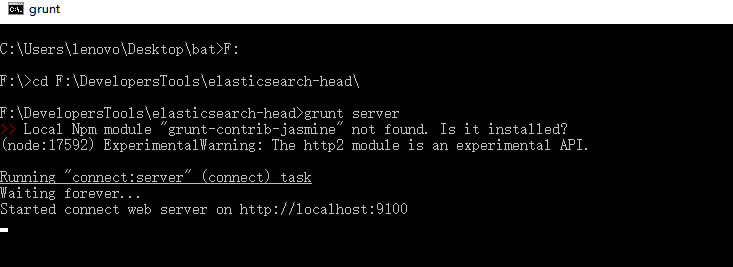
8.分词插件
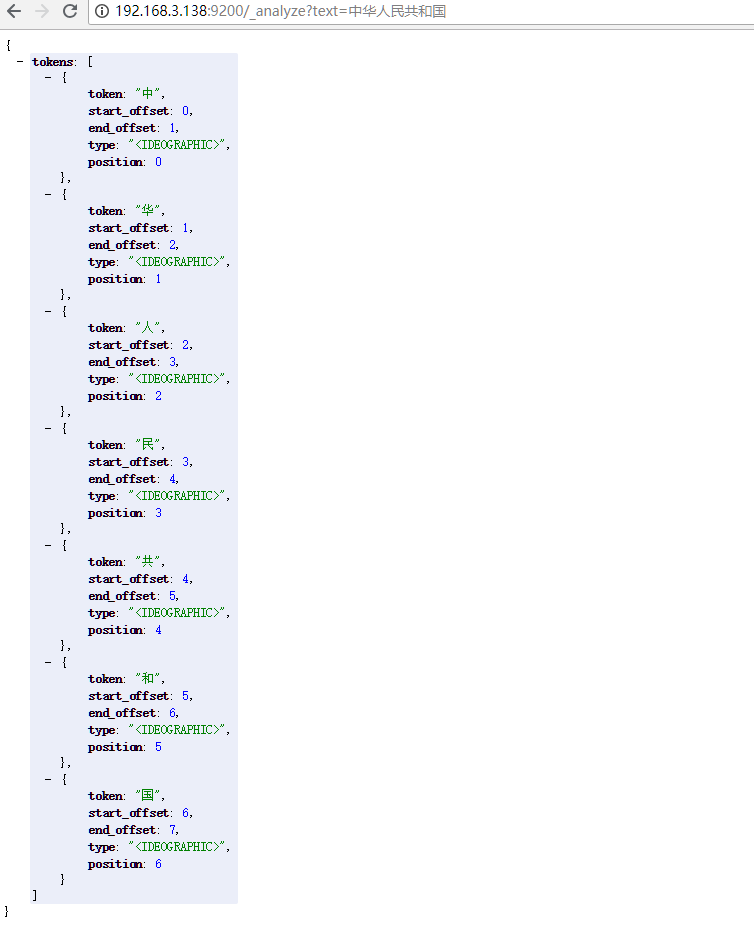
- ES默认的分词插件对中文支持的不好会,比如一串短语会拆分成一个字一个字的形式这样搜索起来范围就会很广范不够精确,没有分词插件之前默认分词效果如下图:
现在我们开始装插件
elasticsearch-analysis-ik-5.5.0.zip- 一定要对应上ES版本 不然会有问题
下载完毕解压到ES服务的目录比如:F:\DevelopersTools\elasticsearch-5.5.0
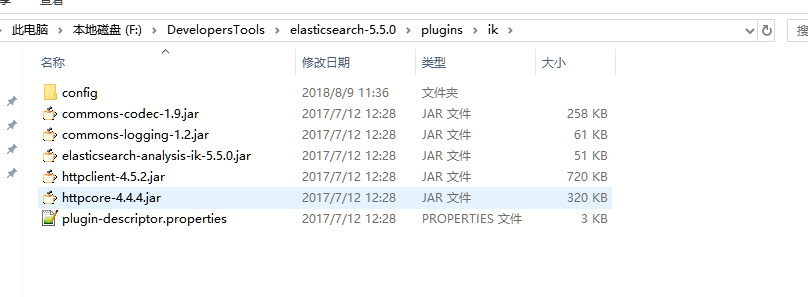
然后在plugins文件夹下新建一个ik文件夹把解压内容放进去重启ES服务,目录结构如图:
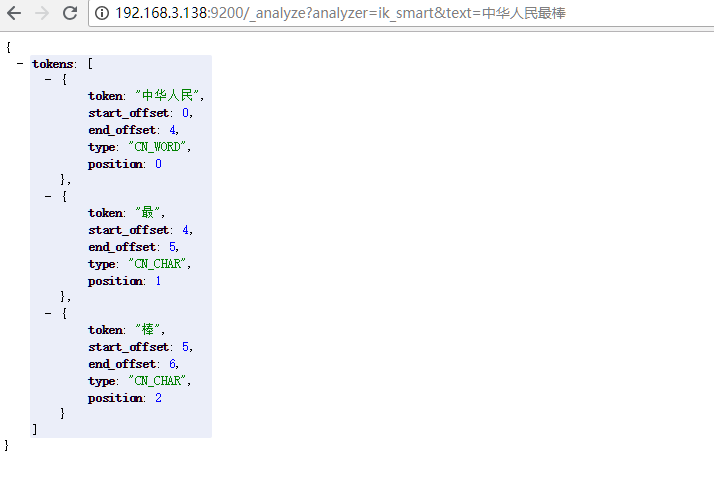
测试一下分词插件如下图
OK出现这样案例就说明分词安装成功了
- analyzer 参数 有俩个 ik_max_word 和 ik_smart 什么区别?:
- ik_max_word:会将文本做最细粒度的拆分,比如会将“中华人民共和国国歌”拆分为“中华人民共和国,中华人民,中华,华人,人民共和国,人民,人,民,共和国,共和,和,国国,国歌”,会穷尽各种可能的组合;
- ik_smart: 会做最粗粒度的拆分,比如会将“中华人民最棒”拆分为“中华人民 ,最,棒”。
若你觉得我的文章对你有帮助,欢迎点击上方按钮对我打赏
扫描二维码,分享此文章